Bliss Hoi An Beach Resort & Wellness is a luxurious beachfront boutique resort, nestled along a private expanse of Vietnam’s pristine Binh Minh Beach. Exuding an air of refined elegance, the resort’s architectural design draws inspiration from Indochina, harmoniously blending elements of wood, bamboo, and exquisite mosaic tiles and bricks.
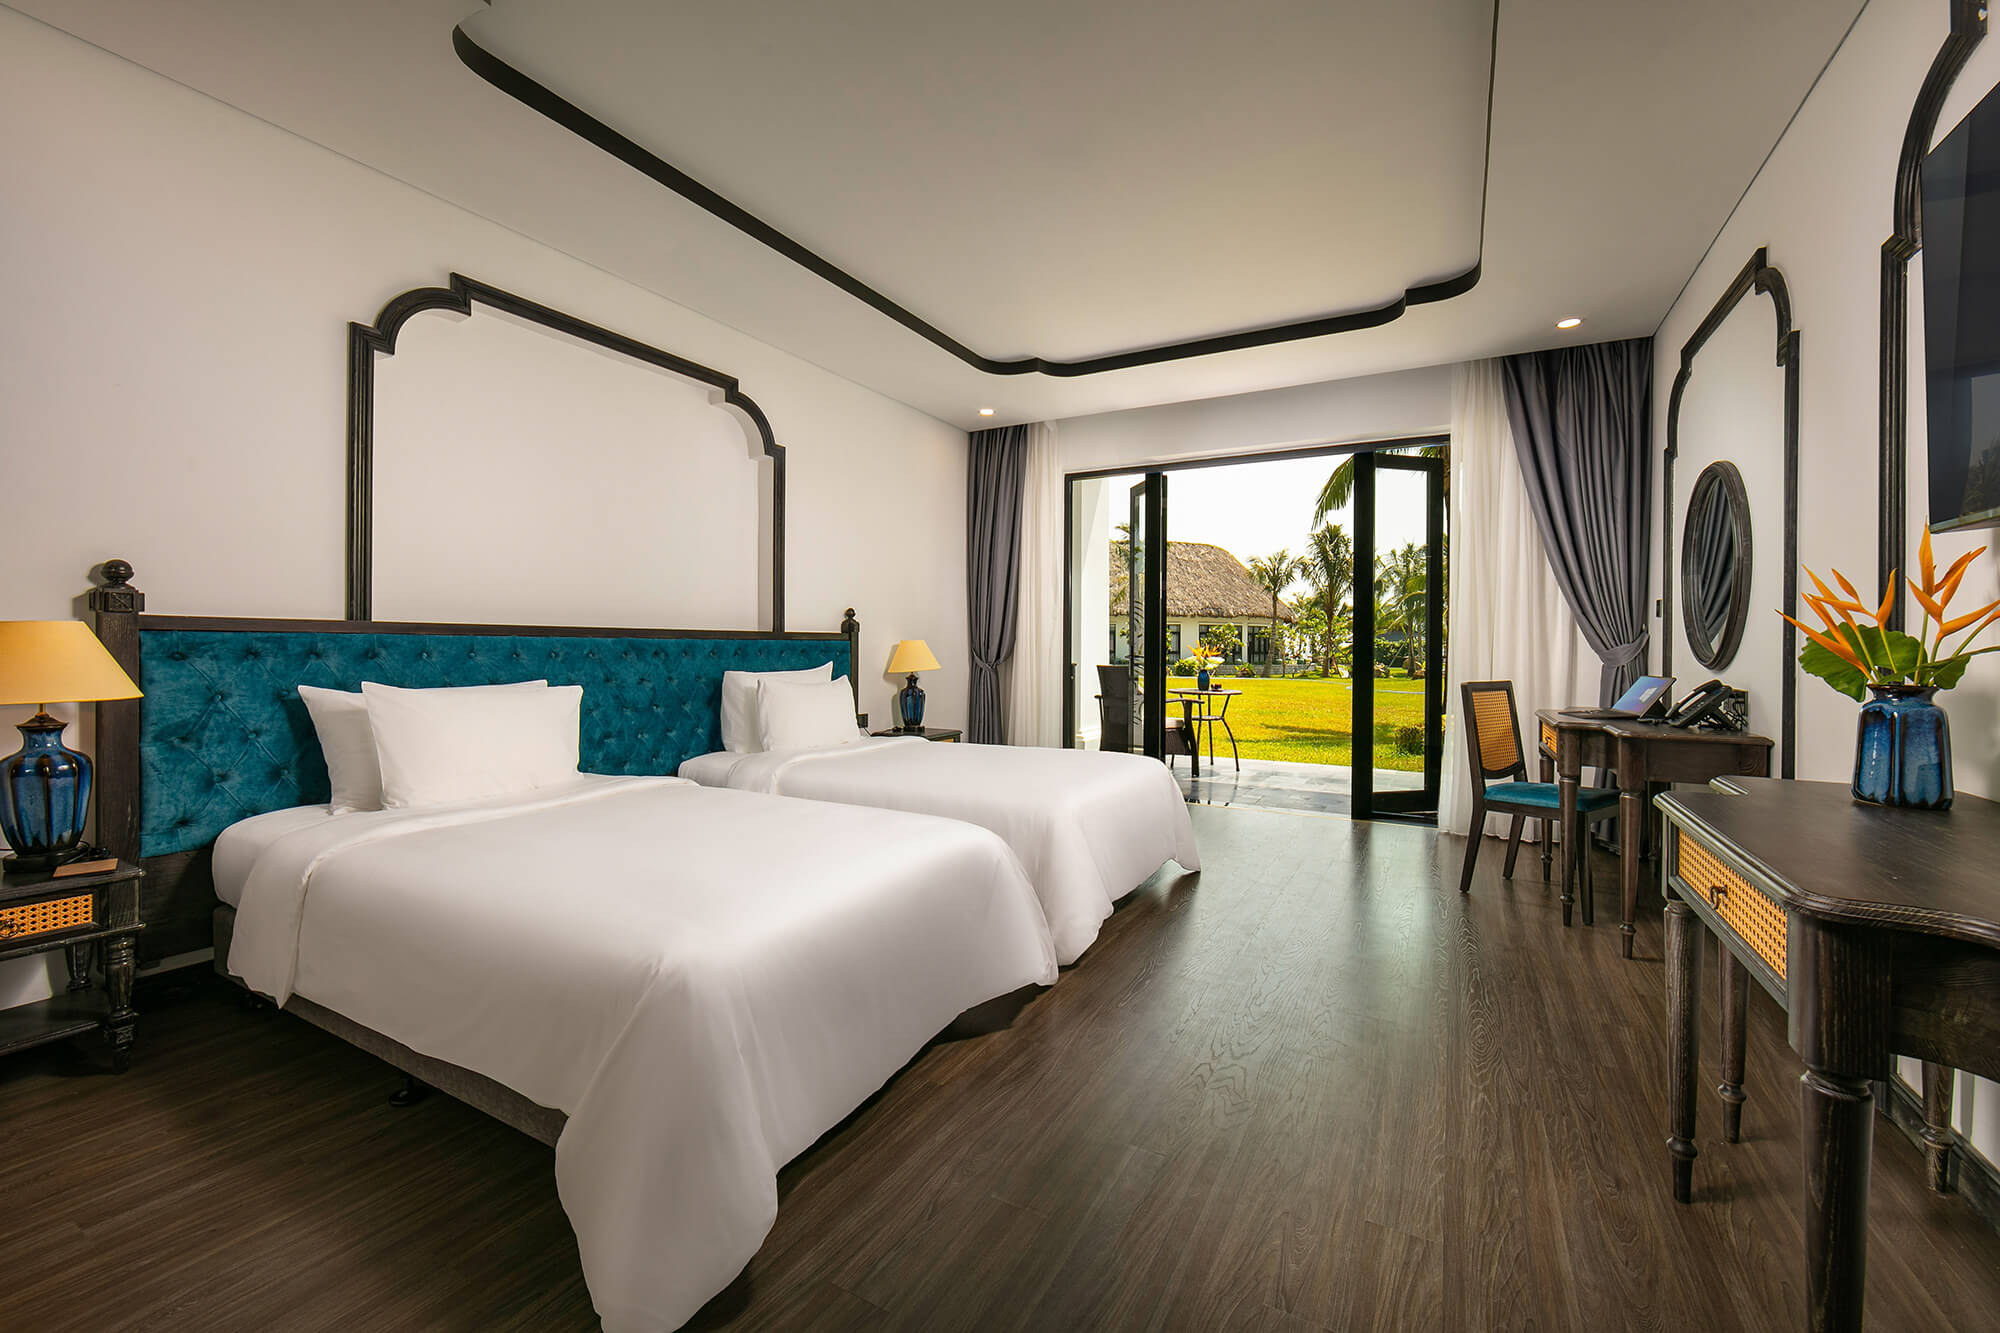
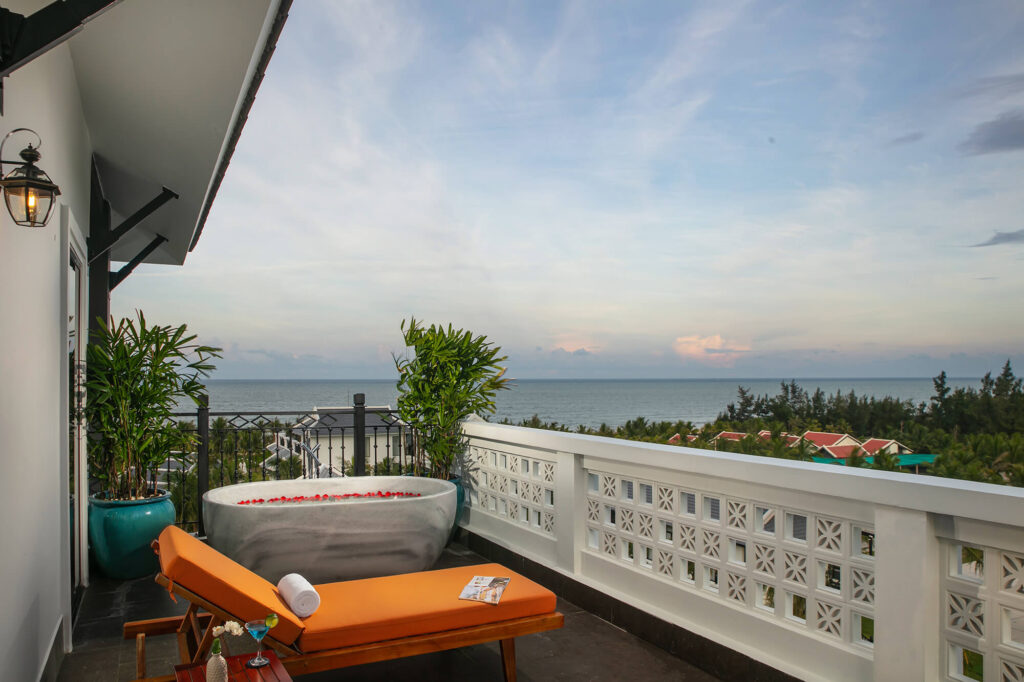 Whether seeking a romantic retreat, a family escapade, or a group incentive trip, Bliss Hoi An is a perfect destination choice. The resort boasts 137 elegant rooms spanning from 51-square-metres, all with private balconies, alongside beautifully appointed villas.
The resort’s infinity pool offers vistas of the verdant gardens and serene ocean, providing beautiful sunrise views. As an added indulgence, all accommodations are privileged with complimentary afternoon tea featuring an array of authentic locally crafted delicacies. Indulge your culinary senses with a global gastronomic experience at Binh Minh restaurant, or savor moments of serenity with ocean views at the Rooftop Bar.
At Bliss Hoi An, the pursuit of well-being is a transformative journey of self-discovery. Immerse yourself in holistic rejuvenation with locally-inspired massages, beauty treatments and therapies at Ngoc Linh Spa.
Further enhance your wellness odyssey with yoga sessions and bicycle rides along tranquil roads. Explore local culture at the bustling Binh Minh fish market, just a five-minute stroll from the hotel. In addition, a complimentary shuttle service seamlessly transports guests to the ancient streets of the UNESCO-listed town of Hoi An.
Bliss Hoi An Beach Resort – Wellness Abounds in Vietnam
