Tucked away on the picturesque coastline of a charming Costa Rican beach town, Hotel Nantipa – A Tico Beach Experience, announced the official opening of its Numú Wellness Center and four new Ninta Garden View Bungalows. Framed by beaches and rainforest in one of the world’s few UNESCO Blue Zones revered for health and happiness, the hotel offers travelers an idyllic escape to soak up the surrounding natural beauty and Pura Vida lifestyle.

Now with 19 bungalows and suites, the boutique property redefines barefoot luxury with a blend of upscale comfort, bespoke Costa Rican hospitality, and sophisticated tranquility.
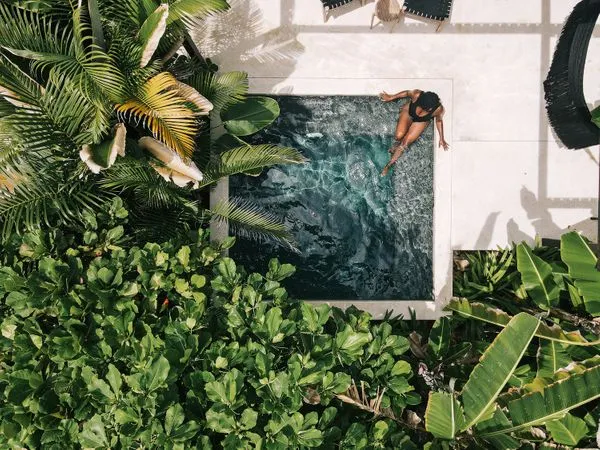
Each of the four new 800-square-foot Ninta Garden View Bungalows features an intimate setting to unwind, complete with a king bed, private terrace, plunge pool, indoor-outdoor shower, and cozy hammock. The accommodations authentically combine beach chic design elements and natural wood accents with modern amenities like climate controls, smart TVs, Wi-Fi and a minibar. Nature lovers will especially enjoy the villas’ floor-to-ceiling glass doors that open to the terrace lined with lush greenery.
The newly opened Numú Wellness Center invites guests on a holistic healing journey in an open-air space within the gardens. Relaxing treatments surrounded by nature offer a peaceful and therapeutic setting full of the rainforest’s sounds, scents, and colors.
A full range of wellness programs are available including spa treatments, exercise and yoga classes, and a transcendental wellness experience. Inspired by the local environment, the spa integrates eco-friendly practices and locally made ingredients by women-owned businesses for its reflexology massages, signature aromatherapy treatments, body wraps and customized treatments, all designed to enhance guests’ health and harmony.
“We’re delighted to expand our property’s accommodations and wellness offerings so that even more travelers can discover the charms of our coastal retreat,” said Harry Hartman, Owner and General Manager at Hotel Nantipa – A Tico Beach Experience.
“Our goal is to provide a boutique, personalized atmosphere with our own authentic unique flavor, and these new additions are the perfect complement to our guest experience.”
Hotel Nantipa is committed to preserving and celebrating the natural Costa Rican environment throughout the property. The hotel is designed with reclaimed wood, a state-of-the-art waste-water treatment plant, energy sensors and solar water heaters.
At the beachfront restaurant, Manzú, guests can get a taste of local flavors in gourmet dishes and tropical cocktails, all while enjoying sweeping views of the ocean and stunning sunsets. In addition, guests can participate in the hotel’s sustainability initiatives like Pack for a Purpose and 10-minute beach clean ups.
Beyond the property, guests can immerse themselves in the rich Costa Rican culture and wildlife. The town of Santa Teresa features shopping and dining, and an array of recreational activities are available nearby from world-class surfing, yoga, paddleboarding and scuba diving to whale watching, fishing excursions, horseback riding and hiking at Montezuma Waterfall, Cabo Blanco National Park and Curú Reserve.
For more information about Nantipa – A Tico Beach Experience, please visit www.nantipa.com.
